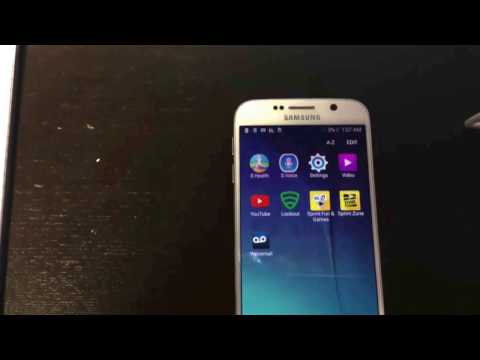
An Microsoft Teams account, once established, isn't simple to get rid of. The reason for this is two factors: the account is typically associated with an email address that's linked to an Microsoft 365 account, or it's an Active Directory account and it needs to be removed from the domain's SharePoint site to eliminate the user.
If you've tried it and found it to be a bit uninteresting Microsoft Teams, you'll probably be tempted to delete the account. If you wish to erase an account with Microsoft Teams account, you'll have to delete microsoft account from laptop. This means you'll lose all of your data and services from Microsoft
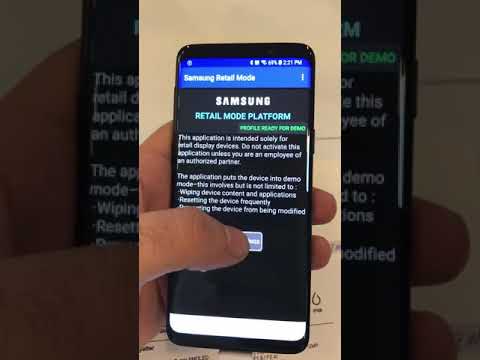
You must be an administrator to deactivate the Free (classic) organisation. You're automatically an administrator if you set up an org called Teams Free (classic) org or if an administrator changed your status to admin.
Steps to Delete Your Microsoft Teams Account
Here are the steps to delete Microsoft Teams account. So let's get started
1. Take Away Team Members
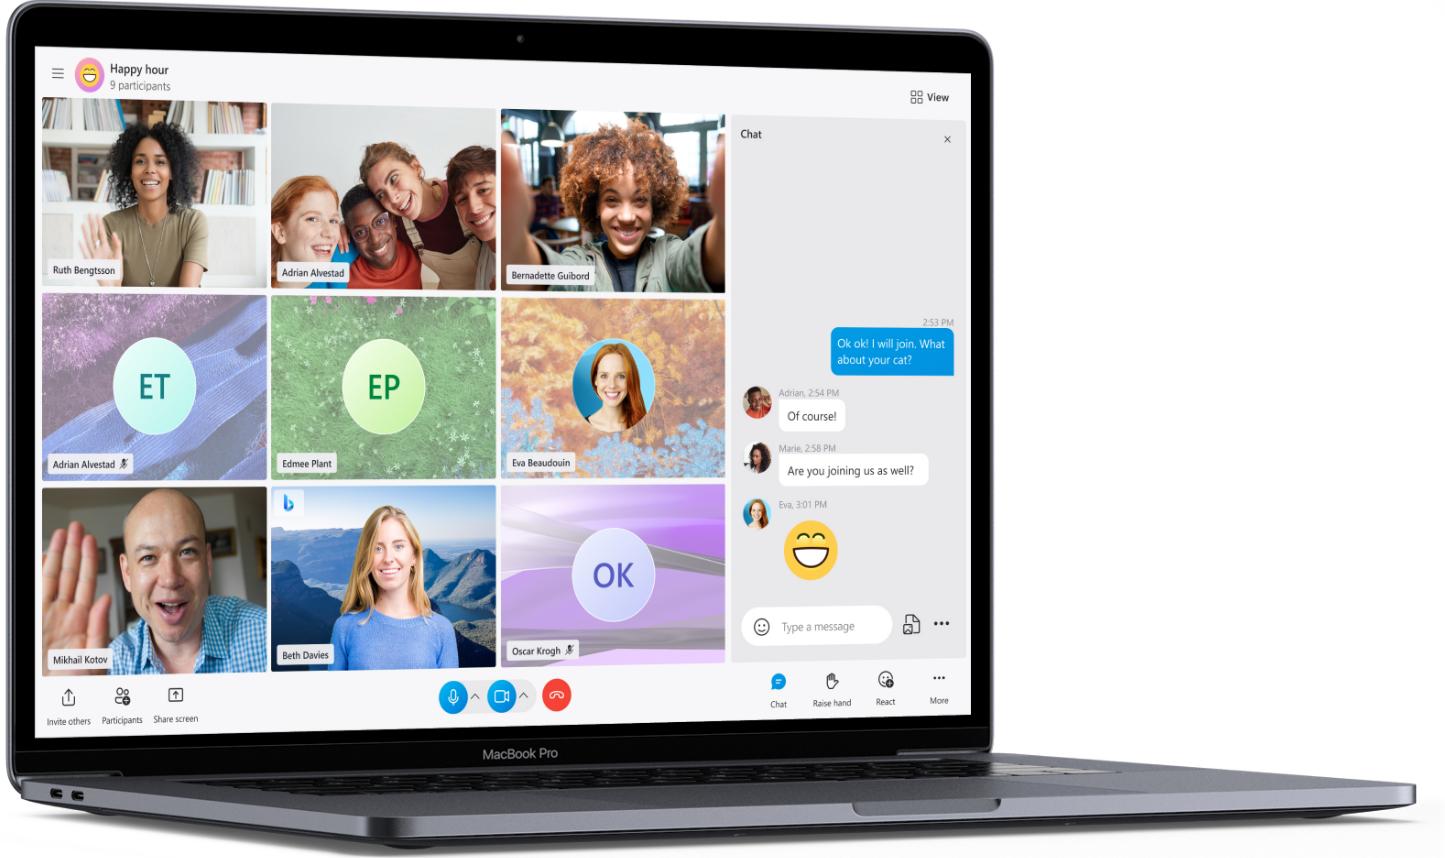
For the first step, you'll need to eliminate all members of the team (except you). To start, log into your Teams free org you wish to remove and click on your profile photo in the upper left corner of Teams then click Manage org. Select the X next every person you want to delete them from. Team Management in Teams
2. Get Your Admin Email Address
You must then find an admin email account before you can carry on the process. Find an admin email account. Select Groups, then select the Groups I manage Then, locate an admin's address to the right. Your admin email address will look similar to f9******900@1***c.com
Make Sure you Complete the Process for Resetting your Password.
If you've got the administrator email address for Your Teams Free org head into the Microsoft 365 Admin Centre. If you are asked to sign in then select Forgot my Password. Follow the procedure to reset your password by using your admin email you obtained in Step 2.
3. Complete the steps to Verify
The email you receive will contain an access code you can utilise to set a fresh password.
Verification code for email Input the verification code
In order to verify the process Verify your identity by entering your confirmation code on on the screen
4. Create the Directory to be Deleted
With an admin email account as well as an administrator's new password sign into your account on the Azure Portal, choose the Show Portal menu More button located in the upper left on the page, then choose Azure Active Directory in the left column.
On Azure Active Directory, in Azure Active Directory portal, choose Manage tenants, then select your tenant, then click Delete directory. It won't remove it (yet) however, you can complete the procedure by following the subsequent steps. Remove directory from Azure
5. Complete the Necessary Actions
Before you are able to delete it the directory needs to go through a series of checks. Utilise the links in the Required Action column beside each item to ensure that it passes the checks.
It is necessary to take care of the items that require action APART from Subscriptions. The solution to this in the next step. If you receive an error message that says you need to upgrade permissions to be able to eliminate subscriptions: Choose Azure Active Directory on the left side, scroll down to the end of the page and then set Access Management for Azure resources to Yes.
6. You can Cancel and Remove the Subscription
If the only remaining item is Subscriptions, head to Microsoft 365 Admin Centre. Microsoft 365 Admin Centre and sign in using your administrator account email as well as password. The next step is to remove your subscription (before you are able to erase this directory). To begin, visit this website to follow these steps to cancelling and deleting subscriptions.
7. Eliminate the Directory
Within 72 hours you can go back to your Azure Portal and sign in using the username and admin password you previously set up.
Choose Azure Active Directory On the left side, and then Delete Directory. The checkmarks must be green. Then, click the delete button located on the lower right of your screen.
Conclusion
The Microsoft Teams account cannot be separate with that Microsoft Account that it is associated with. You may buy an Microsoft 365 account from a separate account other than that associated with the Microsoft Teams account but deleting it is likely to cause many collateral damages. Delete Microsoft business account is you must first identify everything that is connected to it. Most often you'll have this account in conjunction with many other Microsoft services. If you decide to delete your account, you could very likely lose access to these services, as well as the data that is stored within the accounts.
Read
More
Are you finding some issues while login into your Kahoot account? Is your Kahoot app is not working on your chrome? If there is occurring an error while signing into your Kahoot account, you can work properly. These issues may occur due to internet issues or incorrect personal information required to log in.
In this article, we will discuss solutions to fix Kahoot Login issues in the right way,
What is Kahoot Account?
Kahoot is an online game-based learning platform that lets people create an account and learn through playing games. This application works on both desktop and android devices to enjoy online game-based learning. Kahoot creates a classroom situation for students and lets them answer quizzes to learn activities interestingly.
You can create an account on Kahoot by directly signing in or signing in with your Google account.
Kahoot is Not Working on Chrome
Are you finding an issue while opening your account on Chrome? There may be some error in your browser while logging in to your Kahoot Account. Due to this issue, you cannot sign into your account and work properly on Kahoot.
Sometimes the web browser chrome does not work with Kahoot and shows an error. You can install another internet browser on your android device or desktop to log in to your Kahoot account if Kahoot is not working on Chrome.
Fix Kahoot Login Issues
If your Kahoot application is not working properly on your android device or desktop, it means some issues do not let you sign in to your Kahoot account. Let us discuss these issues and how to fix Kahoot Login Issues:
Kahoot Blank Screen Issues
Sometimes when you try to open your Kahoot application on your android, a blank screen appears and you cannot proceed with the login process. The application shows an error and is unable to start the login process.
This is a temporary issue and may solve after some second. But you are finding this issue permanently and are not able to open the application properly; you need to Fix this Kahoot Login issue.
Solutions to Solve this Issue
Close the Kahoot application and start the application again to fix the Kahoot login issue and sign in to your account.
Restart the Android device and open the application again for proper functioning.
Check the battery power of your android device and fix the battery issue by charging your android device.
If you have tried all solutions and your application is not working, you need to install the Kahoot application again to Fix the blank screen and Kahoot login issue.
Kahoot Login Issues
Are you unable to sign in to your Kahoot application? Sometimes your Kahoot application works properly but you are unable; login into your Kahoot account. Check out for other solutions to fix Kahoot login issues:
Simple Steps to Fix Kahoot Login Issues
1. Kahoot Server is Going Busy
Sometimes, the Kahoot server is busy and does not respond to your login process. You can try after some time to fix this Kahoot login issue. Close the application and start it again to proceed with the login process.
2. Check for Internet and Wi-Fi connection
Another issue that does not let you sign in to your Kahoot account is that your internet connection is off. Check for internet connection and make your mobile data or Wi-Fi connection is working properly.
If your internet connection is off, you cannot connect to the Kahoot server for the sign-in process.
3. Enter the correct Login Credentials
To sign in to your Kahoot account, you enter your username and password. If you have created a Kahoot account with a Google account, you enter your email address and password. Put the right credentials to log in to your Kahoot account.
If you put the wrong username or password, the Kahoot server will show an error, and you cannot sign in to your Kahoot account. Remember your username and password to login into your Kahoot account.
4. Reset Your Kahoot Password
If your internet connection is stable and you still find the Kahoot login issue. Check the password you are providing is correct. If you provide an incorrect password, you cannot sign in to your Kahoot account. you can reset your Kahoot account password by going to the “Forget password” option. Get a new password for your Kahoot account to fix the Kahoot login issue due to the wrong password.
5. Check for Your Linking Accounts
You must check for your other accounts if there is occurring an error while logging in to your Kahoot account. Check your Facebook, Twitter, Google, and Microsoft account are working properly.
Conclusion
Kahoot account lets you learn online game-based activities by creating an account and logging in to your account. You cannot sign in to your account. You can fix the Kahoot login issues by resetting your password.
Read
More
Are you looking for a simple step to log in to Instagram through Facebook? Here you can learn about all effective ways to log in to Instagram through Facebook.
Facebook has effective cross-application reasonableness for organizations and non-benefits.
The principal ongoing update of Facebook Business Suite makes it feasible for administrators to oversee everything in one spot—from cross-presenting on answering to messages. The Instagram API needs you to highlight an Instagram record to a Facebook Page you’re an administrator or manager on to utilize outsider stages to think of your Instagram stories.
To allow the EmbedStories stage to assemble your Instagram stories, you’ll get to associate your link Instagram to your Facebook page. It is frequently a government official API request of the Facebook/Instagram stage. You’ll have the option to share content across each and assemble the chief of the office of visual substance.
You’ll have the option to try and sign in to Instagram through Facebook to save heaps of significant seconds. Connecting link multiple Instagram accounts to Facebook helps get through that. You’ll have the option to share across every stage with a single tick.
Like this, it is reasonable to attempt it. Thus, here are The Best and Steps to Sign in to Instagram through Facebook.
Connection Instagram to Facebook
If you have a Facebook page and an Instagram account, connecting the 2 is direct. Then, at that point, you’ll have the option to share content consistently between the 2 organizations while not losing information arrangement or effect.
Open the Instagram application on your telephone.
Sign in, pick your profile. Thus, pick the Settings menu.
Select Facebook Account, then click on ‘Sharing to various Apps’
Select Facebook and sign in along with your Facebook account subtleties if you’re not signed in on your telephone. Give the application consents once mentioned.
You will then be the approach to arrange your Accounts Center. Pick your Facebook record or spigot “Not you?” to change Account, then, at that point, pick Continue.
Select any place to share on Facebook. Spigot end Account Center set-up.
Select ‘option to start Sharing to Facebook’.
Return to Accounts Center. Ensure the ‘Offer with Facebook’ opportunities for Stories and Posts and ‘Signing in with records’ space unit each empowered.
That is it. Facebook can raise you to see your posts, Friends, Everyone, or Nobody. If you’re going to utilize the records for advancing, you should pick everyone.
Following Facebook Contacts
Tap the Profile button. In Instagram, the individual formed symbol is regularly in the base right corner of your screen; sound it’ll take you to your Instagram account.
Tap robot if you have a robot. It is regularly inside the upper right of the profile page and can open the menu decisions.
Tap “Facebook Friends”. It could be immediately under the Follow people’s head.
Tap the OK chance whenever provoked. It is frequently essential in situ to prompt you that you have endorsed Facebook to get to your Instagram account.
Audit your outcomes. You should see a page with an assortment of Friends on Instagram” at the most noteworthy of the screen. You’ll look through each of your outcomes from here or fixture on the different classes of people to follow.
Tap “Follow” close to any companions you need to follow. Doing accordance can precisely follow any unprotected record and solicitation consent to follow any close to home records.
You can conjointly spigot the follow all button close to the number of companions at the most elevated of your screen to follow all of your Facebook companions with Instagram.
Sign into Instagram through Facebook
You can sign into one organization through alternative the opposite essentially a comparable as you’ll utilize login with Facebook on a few other applications or sites. Just open Instagram on your telephone and log in to Instagram through Facebook. Assuming you’re now signed into Facebook, you’ll precisely sign in. If you’re not, add your Facebook login once provoked and pick the blue Login button.
In case you fit a spic and span Instagram account. You’ll do an identical component. Introduce Instagram and pick Log in with Facebook as higher than. It’ll then, at that point, produce a partner degree record and connection it to your Facebook. The sole drawback with this is that it’ll offer you an arbitrary username and parole except if you alter it.
To alter your default Instagram login subtleties, do this:
Sign into Instagram, double-dealing the Facebook login.
Select your Profile symbol at the absolute bottom right and pick Edit Profile.
Select your username and change it to one thing a ton of individual.
Head back to your profile screen, a fixture on the cheeseburger symbol at the higher right then, at that point, pick Settings.
Tap on Account then, at that point, pick Personal information. Check the email address to ensure it’s right.
Return to the settings menu and pick Security.
Select parole from the rundown to reset.
Conclusion
After following the above-portrayed advances, you’ll, in any case, log in to Instagram through Facebook. Anyway, you have presently started your record to be gotten to severally as well.
You’ll have now changed your profile picture, added a bio, and adjusted your Instagram account as you like, and it’ll not affect that login.
Read
More
Skype lets you make live streaming calls; for business purposes, educational purposes, and other group calls. This is the best streaming application that helps you a lot; to make HD quality video call with a high screen view.
In this article, Loginnote will discuss how to improve your Skype calls for better performance on Skype.
Here are some ridiculous tricks for better performance on Skype and improve your Skype calls:
1. A Clear Background
To improve the quality of your Skype calls, you must select a clear and clean background that gives a clear and cool sight. If you make a Skype call where things are scattered, it will give a noisy impression on your receiver.
Be careful about your call background to start a Skype call with your business group or other people. Be conscious about your background on a Skype call for better performance and improve your call.
2. Be Careful about Lighting Quality
Another factor that may affect your Skype call is proper lighting. If you are not sitting in the proper light, it will create a dark effect, and you suffer from a low-quality Skype call. Bright lighting will improve the call quality and give a clear view.
You can see everything clear and bright. The receiver will not disturb due to dim light or shadows of objects. Sit indirect and bright light place where everything looks clear and without a yellowish effect.
3. Dress Up Nicely
Must be conscious about your wardrobe selection while going on a Skype call, and look graceful. When you are going to a professional call with your business employees or to deliver an online class, you must dress up good looking clothes.
Try to select the colors easily tap the light reflection; give a nice impact on your viewer. This trick also helps you improve your call quality on Skype.
4. Use A Real Camera for Your Android Device and Desktop
The most important thing that affects the performance and quality of your Skype calls is the quality of the camera that you use for making live streaming calls on Skype. Try to use a real quality HD webcam; that can deliver real views and better quality calls; on your Skype application.
You must check the quality of your Webcam and place the camera at the right position from your device. Use a real camera at least 10 feet away from your device for a better quality of video calls on Skype.
5. Set A Small Studio for Skype Calls
Here is a very ridiculous tip; for making your Skype calls better and improving your Skype performance, you can create a small studio for making live streaming call on Skype. Set a beautiful background and better light quality in this small studio to have better call performance on the Skype application.
Use a real webcam on a required position that can give a better view of your background.
6. Use Better Internet Connection
Be sure about the internet quality; before making a live streaming call on Skype. If your internet connection or Wi-Fi connection is weak, you cannot make a smooth Skype call with others.
The singles break due to an unstable internet connection and interrupt you during calls. Check the internet connection and use a stable internet connection for your Skype calls.
7. Use A Wired Connection to the Internet
A wireless connection must have high data transfer rate for making improved calls. If you use a Wi-Fi or wireless connection on your android and desktop device, it must have a high speed to carry the calls with better performance.
Use a wired internet connection to make the quality of Skype call better.
8. Keep Your Hardware Updated
Check your hardware quality to connect with others on Skype calls. If your hardware stop working during a call, it may interrupt you; does not give a good impression.
Keep your hardware updated to improve the Skype calls and improve your Skype performance.
9. Update Your Skype Application
Android and desktop applications keep on updating and adding new features to the new versions. If you have an old version of the Skype application you may find the log-in issue or other problems during calls.
Update your application and install the new version of the Skype application. The latest version of the Skype application will let you enjoy a better call experience on Skype.
10. Update Your Operating System
Keep your operating system up-to-date to enjoy high-quality calls on Skype and have a better experience on Skype calls. Check your operating system and install the updates if needed.
Your windows must be latest and compatible with the latest version of Skype for better performance of Skype and Skype calls.
Read
More